
Ways to Improve Bathroom Lighting for Daily Tasks
Why a Single Ceiling Light Falls Short
Most UK bathrooms make do with one flush-mounted ceiling fitting, usually placed wherever the original rose happened to be. It lights the middle of the floor well enough, but it leaves your face in shadow at the basin, throws your own silhouette into the shower and leaves the far corners gloomy. The problem is not brightness, it is direction. A single source above and slightly behind you cannot light a task that happens in front of you. The fix is to build three layers: ambient light for the room, task light where you actually work, and accent light for depth and comfort. None of it needs to be expensive, and in most bathrooms the existing circuit can carry the lot if you plan it properly.
Build a Softer Ambient Layer First
Ambient lighting sets the base level, and it should come from more than one point so shadows stay soft. Two or three ceiling fittings spread across the room beat one bright central light every time. Keep them warm, around 2700K to 3000K, which suits a domestic bathroom and flatters tiles, and aim for output that feels generous without turning clinical. As a rough guide, 100 to 150 lumens per square metre is a sensible starting point, then adjust once you see it in place.
- Recessed downlights work if they are sealed and suitably rated, but space them at least 600mm apart to avoid pools of light and dark patches.
- Surface-mounted spots or small pendants are easier where ceiling voids are shallow, as in many flats.
- A dimmable circuit lets you dial the room down for an evening soak and up for cleaning.
- Keep at least one ambient fitting on a separate switch or dimmer so you are never forced into full brightness.
Task Lighting at the Basin and Mirror
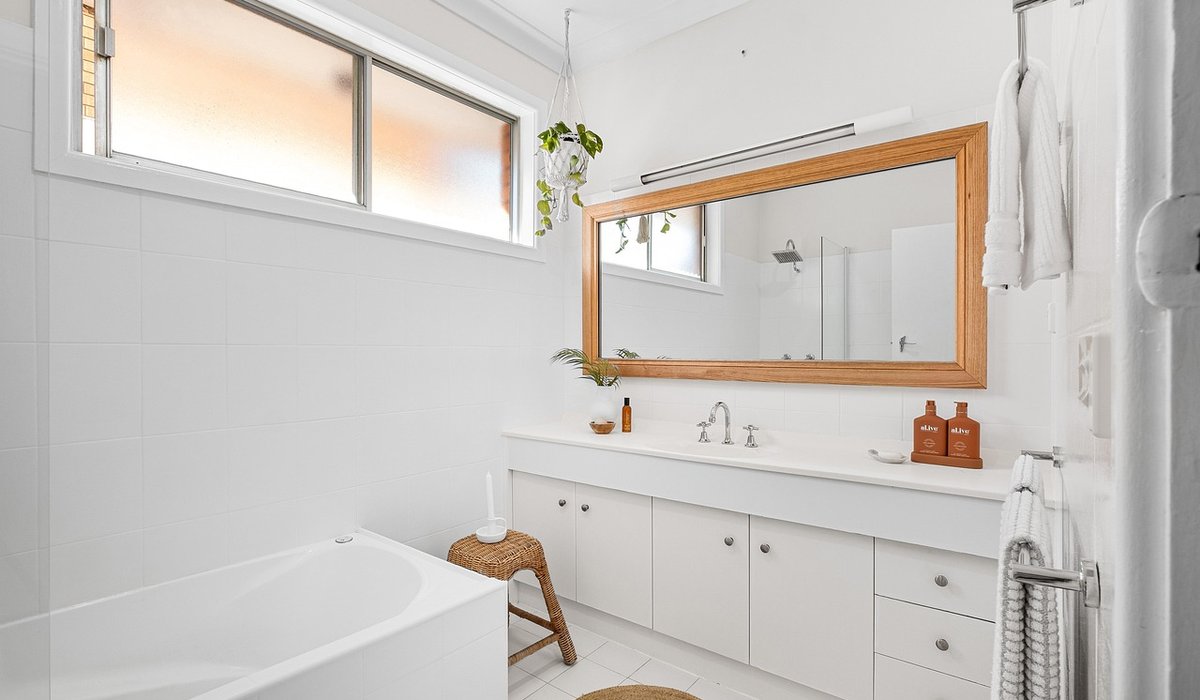
This is where most bathrooms fail. A light directly above a mirror throws shadows down your face, which is exactly the wrong direction for shaving, applying make-up or flossing. Move the light to the sides of the mirror, at roughly eye level and around 1.6 to 1.8 metres from the floor, so it falls across the face from two directions rather than one. If you only have room for a single fitting, a horizontal diffused strip above the mirror is far better than a small downlight, because the wide source wraps light around the face instead of carving shadows under the nose and brow.
- Wall lights either side of the mirror, ideally 300 to 450mm from the edge, are the classic solution.
- An illuminated mirror cabinet puts light exactly where you need it and hides the clutter at the same time.
- Backlit or edge-lit mirrors add a soft halo that reduces glare and helps on middle-of-the-night trips.
- For shaving, aim for roughly 400 to 600 lux at chin and cheek height; for detailed tasks, brighter is better.
- Warm white works well, though 3000 to 4000K at the mirror is often kinder for colour matching.
Choose fittings with a colour rendering index of 90 or above. Cheap LEDs with a low CRI make skin look grey and tired, and no amount of brightness will correct that.
Lighting the Bath and Shower Zone
A bath is a place to relax, so the light above it should be soft and ideally dimmable. A single downlight straight over the tub creates glare on the water and a hard reflection on tiles. Use two lower-output fittings angled slightly outward instead, or a wall light on the corner of the bath wall. In the shower, light from the side rather than directly overhead, so you are not standing beneath a beam that leaves your face in the dark.
Anything within the shower enclosure or over the bath sits in Zone 1 and must be at least IPX4, preferably IPX5 or higher where a jet of water could hit it directly. Zone 2, which extends 0.6 metres beyond the bath or shower tray, needs IPX4 as a minimum. In practice, sealed IP44 or better fittings throughout the room are a sensible default. Work in these zones is notifiable electrical work in England and Wales, so use a registered electrician rather than guessing.
Accent and Night Lighting
Accent light adds depth and makes a bathroom feel designed rather than merely functional. A warm LED strip tucked into a tiled niche, behind a bath panel or beneath a floating vanity creates a soft wash that costs very little to run and turns an ordinary room into somewhere you want to linger.
- A low-level, motion-activated light near the door or below the vanity gives enough to see by at 3am without waking you fully.
- Keep night lighting warm and dim, around 2700K and no more than 50 lumens.
- Under-cabinet strips make the floor easier to see and are handy for children and older visitors.
- Run accent lighting on its own switch or sensor so it can be used alone.
Practical Details That Make It Work
A few decisions taken early save a great deal of frustration later. Settle the layout before tiling, because running cable afterwards means removing tiles. Keep every fitting sealed against steam, and never fit an open-backed downlight in a bathroom: moisture and loft insulation both find their way in.
- Put the main switch outside the room or use a pull cord, and keep dimmers clear of wet zones.
- Match colour temperature across all fittings; mixing 2700K and 4000K in one room always looks wrong.
- Buy dimmable lamps and a compatible dimmer from the outset, as retrofitting is fiddly and often disappointing.
- Seal around ceiling fittings to reduce draughts and stop steam escaping into the loft.
- Clean diffusers and shades regularly, since bathroom dust mixed with soap film noticeably cuts output.
Get the layers right and the room stops being somewhere you dash through. It becomes a space that simply works, whatever you happen to be doing in it.

4 Comments